Tuesday, January 1st, 2019
The Vault feature of your eMoney client website allows you to safely and securely store important documents and files. For your convenience we will automatically upload investment accounts statements and quarterly portfolio reports for you.
This post will guide you through the Vault and show you how to upload files. Within your Vault there are two folders you can upload directly into. Depending on the amount of information in your Vault, we may sort the files into additional folders.
Most common file types are compatible with the Vault but for security purposes .exe (executable) files are not supported. Lastly, the individual file size limit is 30mb.
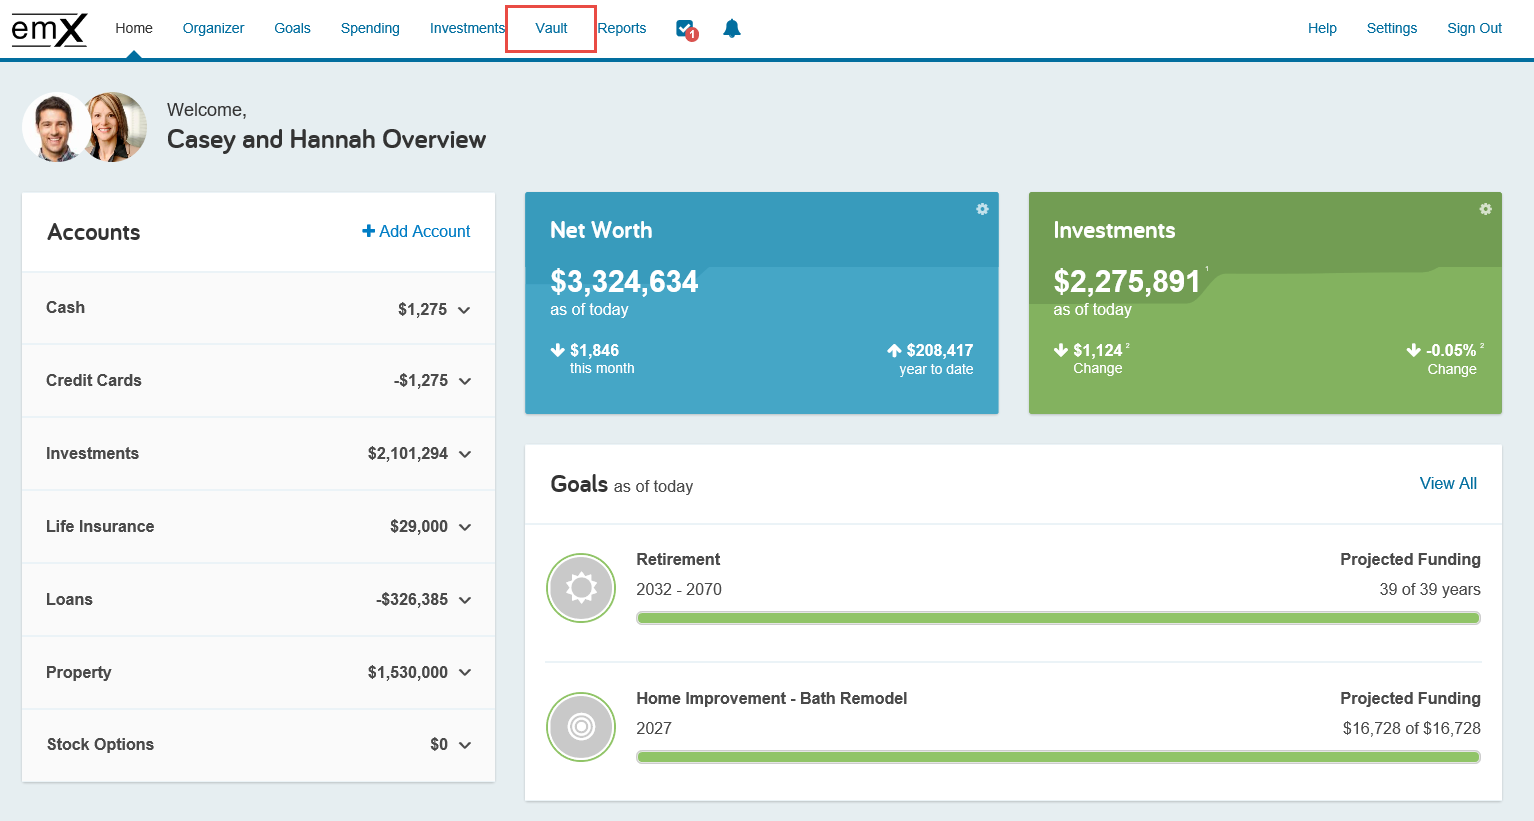
- To begin, click the Vault tab from within your Wealth Management Portal.
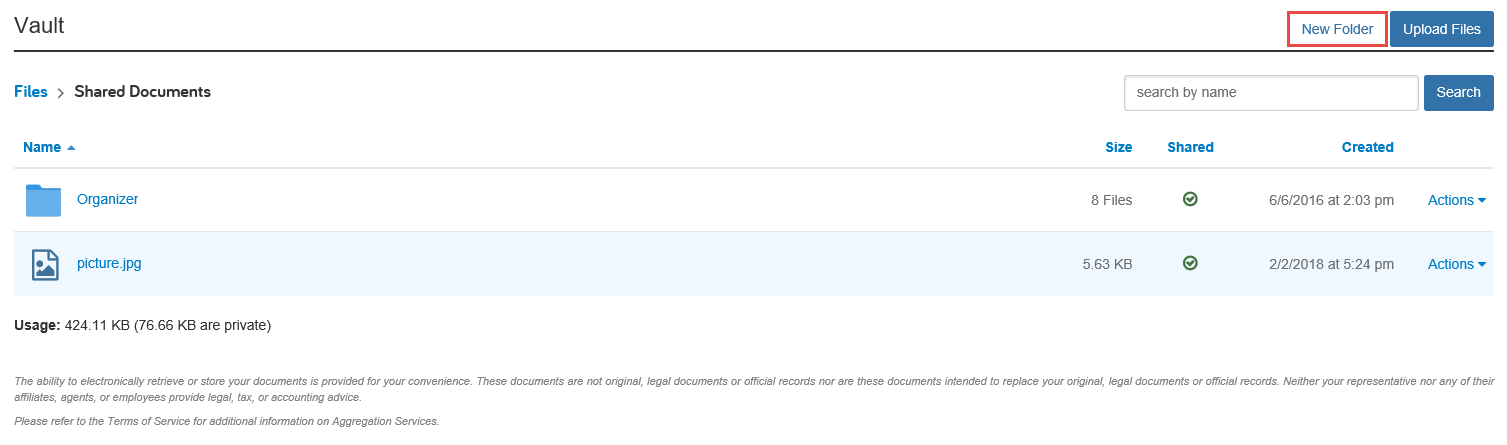
- The two folders you can upload files into are My Documents and Shared Documents. Use My Documents to store any personal files and Shared Documents should be used when uploading files you want to remain visible to our team.

- Next, click into a folder. Within both the My Documents and Shared Documents folders, you will have the ability to create Sub-Folders using the New Folder button. These will allow you to further organize your files.
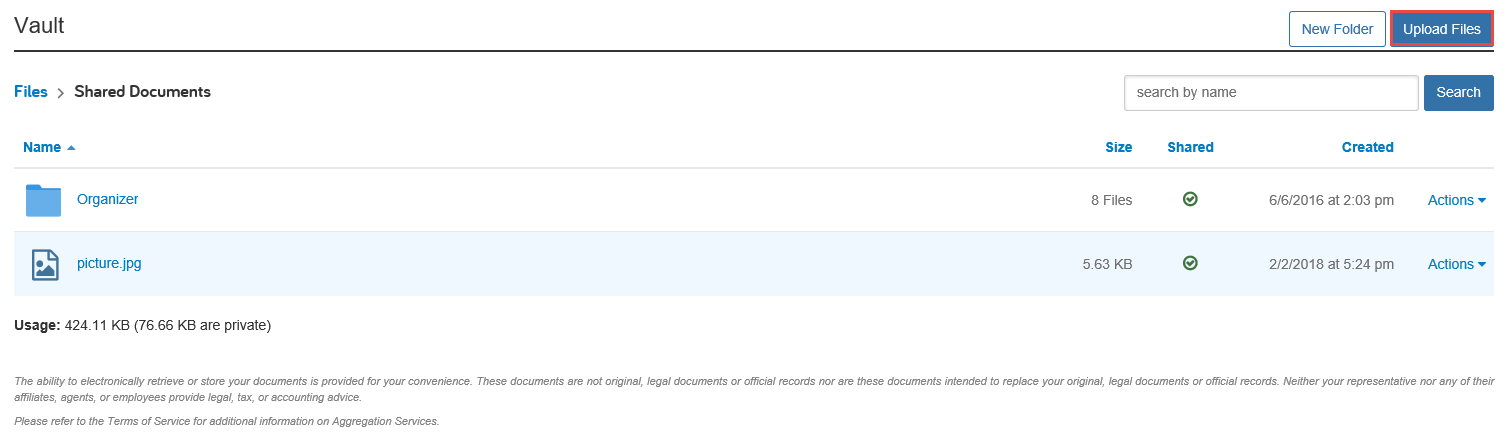
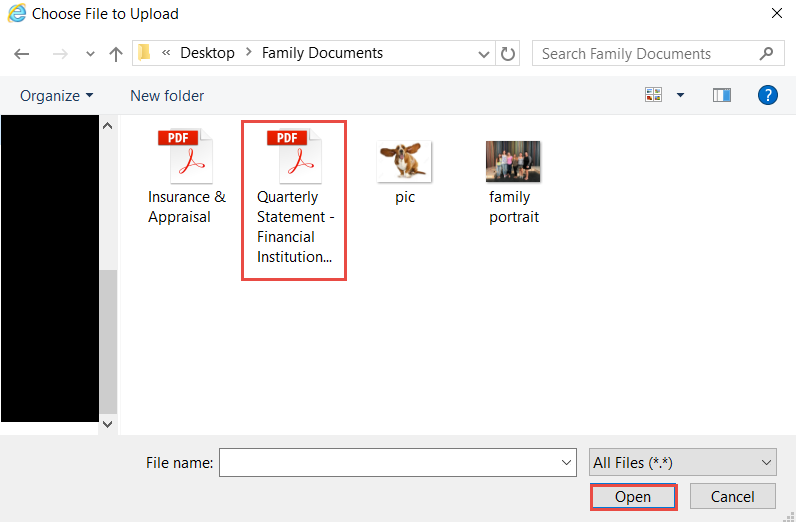
- To begin uploading your files, click Upload Files. Your browser will open a modal that allows you to pick and choose documents to upload from your desktop. Browser your desktop, select a file to upload. To select multiple, hold down the SHIFT key while selecting the files individually. When ready, click Done.
- Each individual file cannot exceed 30mb in size.
- Once files are successfully uploaded, you will see a green success message at the top of your portal.

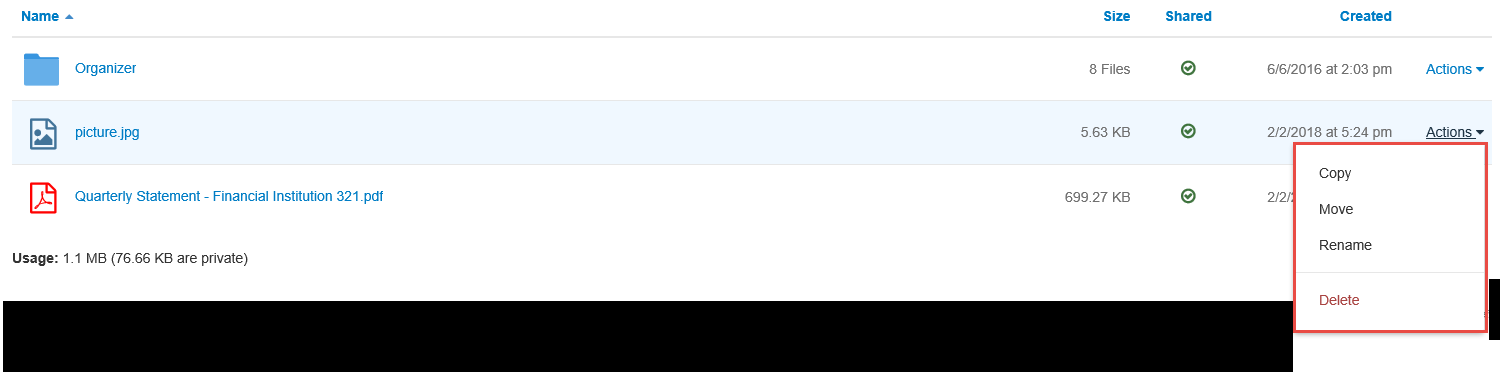
- Click on a file name to open it from your browser. Each file in your vault will have an Actions drop-down. This allows you to copy, move into a different folder or sub-folder (within My Docs or Shared Docs), rename, or delete a file. Note: deleted files cannot be recovered.